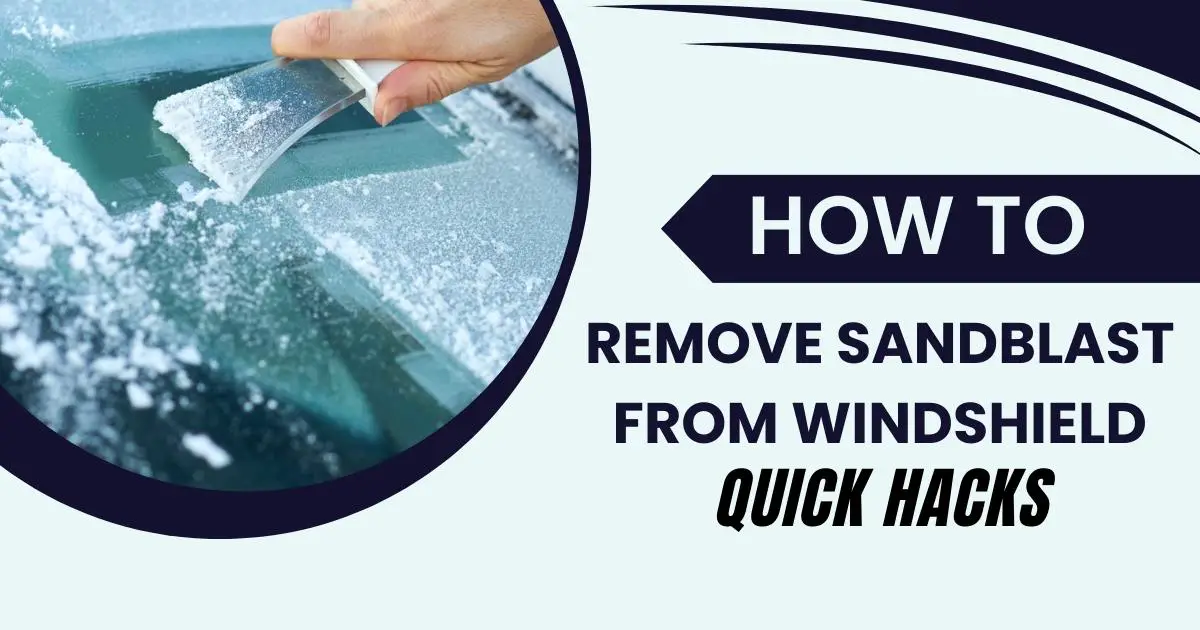
How to Remove Sandblast From Windshield- Quick Hacks
If you’ve ever found yourself with a sandblasted windshield, you know just how frustrating and obstructive it can be. Sandblast damage occurs when fine particles of sand and debris are propelled against your vehicle’s windshield, leaving behind unsightly marks that reduce visibility.
These abrasive particles gradually erode the surface of the windshield, leading to reduced visibility and safety concerns. This problem is particularly prevalent in vehicles that are regularly exposed to harsh elements or driven at higher speeds. Unfortunately, short of keeping your vehicle off the road, there’s no foolproof way to prevent windshield sandblasting.
How to Remove Sandblast from Windscreen
One straightforward way to determine if your windshield is affected by sandblasting is to examine it when sunlight is shining upon it. If you notice a distracting glare, it’s a clear sign that the glass has been compromised.
In addition, if your windshield wipers are not functioning properly, it might be an indicator of sandblast damage. Such damage can cause wipers to skip, produce noise, or function unevenly. Monitoring the condition of your windshield is vital because sandblast damage can render your windshield increasingly difficult to see through, posing a significant safety risk.
Carefully examine the sandblast damage to determine the severity. If the damage is extensive or deep pitting you may require replacement service or professional help. However, if the damage is superficial, you can be able to repair it yourself. That said, let’s go through the steps on how to fix sandblasted windscreen;
Tools and Materials
- Good-quality glass cleaner
- Lint-free paper towel or old newspaper
- Variable speed drill
- Buffing wheel
- Glass-polishing compound
Step 1# Clean the Windscreen
Start by cleaning the exterior of the windscreen thoroughly. Spray a generous amount of the glass cleaner evenly across the surface, ensuring comprehensive coverage. Using a lint-free paper towel or old newspaper, wipe the glass cleaner to remove the accumulated dirt and debris from the windshield. Work in horizontal or vertical strokes to ensure thorough cleaning.
Move to the interior of the vehicle and repeat the same process. Spray the glass cleaner on the inside surface of the windscreen. Pay special attention to the edges and corners of the windshield, as these areas tend to accumulate more dirt and grime. Ensure that you clean these areas thoroughly.
After cleaning both the exterior and interior, inspect the windshield for streaks or residue. If you notice streaks, it is an indication that more thorough cleaning is required. Address any streaks or spots by reapplying a small amount of glass cleaner to the affected areas. Wipe the areas again with a clean lint-free paper towel or newspaper until the glass is clear and streak-free.
Step 2# Attach the Buffing Wheel
Attach a clean buffing wheel to a variable speed drill. Ensure the buffing wheel is of good quality and suitable for automotive glass polishing. Thoroughly inspect the buffing wheel to make sure it’s clean and free from any particles that might scratch the windshield.
Step 3# Apply Glass-Polishing Compound
Apply the glass-polishing compound to the buffing wheel according to the manufacturer’s instructions. The chemical serves as an abrasive agent that assists in removing or reducing the appearance of sandblast damage. It also helps to smooth out imperfections, such as pitting and scratches on the windshield’s surface.
Ensure that the cleaning compound is spread evenly across the entire surface of the buffing wheel. This will ensure that the abrasive action is applied uniformly across the surface, which helps to achieve consistent results.
Step 4# Set the Drill Speed
Find the speed control on your variable speed drill. It’s typically a dial or a switch that allows you to adjust the drill’s rotation speed. Turn the speed control to set the drill’s speed at approximately 1500 RPM. This speed is ideal for windshield polishing as it strikes the right balance between effectiveness and control. The speed range should be fast enough to efficiently polish the glass while still being slow enough for you to maintain control over the buffing wheel.
Step5# Buffing
Start by turning on the variable speed drill. Ensure it’s set to the previously adjusted speed of approximately 1500 RPM. Hold the drill firmly with both hands to maintain control and precision during the buffing process. Position the buffing wheel against the windscreen, where the sandblast damage is present to start the sandblast removal process.
While the drill is running, move it in a circular motion over the windscreen’s surface. This movement allows the buffing wheel to evenly distribute the abrasive action and ensures consistent results. Apply uniform and firm pressure while buffing the windshield. This helps in smoothing out imperfections, thereby reducing the appearance of sand damage, and restoring clarity to the glass.
Alternative Methods
If you don’t have access to a buffing wheel and a variable speed drill, or if you’re dealing with light sandblast damage, there are alternative methods you can explore to repair your windshield. These include;
Hand Cleaning with Glass-Polishing Compound
Choose a glass-polishing compound suitable for automotive glass repair. Ensure that it is designed for manual application. Dab a small amount of the glass-polishing compound onto a clean, lint-free cloth or an old newspaper. The exact amount may vary based on the product’s guidelines.
With the cleaning compound on the cloth, apply it in a circular motion over the damaged areas on your windshield. Ensure that the application is even and consistent. Apply uniform pressure while rubbing the compound over the damaged areas. This helps to smooth out imperfections and reduce the appearance of sandblast damage.
Pause periodically to inspect the treated areas and evaluate the progress. If the damage persists, you may need to repeat the application. This method is accessible and doesn’t require specialized equipment. However, it’s only suitable for minor to moderate sandblast damage.
Using Toothpaste
Another DIY method you can use to fix a sandblasted windscreen is using non-abrasive toothpaste. You can use the toothpaste as a mild abrasive to help remove minor sandblast damage from a windscreen. Start by cleaning your windshield with a good-quality glass cleaner and a lint-free cloth to remove surface dirt and debris.
Apply a small amount of the toothpaste to the damaged areas on your windshield. Use a clean cloth or buffer to rub the toothpaste in a circular motion over the damaged areas. After thoroughly rubbing the toothpaste, rinse the windshield with water and assess the results. You should see an improvement in the appearance of the sandblast damage.
Removing sandblast using toothpaste is simple, affordable, and can be used for minor, light sandblast damage. It’s often a household solution that doesn’t require special products. However, this method may not be as effective for moderate to severe sandblast damage. It’s best suited for light damage, and you may need to repeat the process for significant improvement.
Replacing the Windshield
In some cases, repairing minor sandblasted damage using specialized techniques can be a cost-effective alternative to replacement. However, these methods are typically suitable for superficial damage. Generally, severe or extensive sandblast damage often necessitates a replacement.
Replacing a sandblasted windshield is often the most effective way to address severe damage, which ensures optimal visibility and safety while driving. It ensures that the windshield is in the best possible condition to protect you in the event of an accident.
That said, proper installation is crucial for the safety and effectiveness of the windshield. As such, it’s essential to choose a reputable auto glass professional to ensure a successful replacement.
Frequently Asked Questions
Can sandblasting damage glass?
Yes. Sandblasting can cause damage to glass surfaces. The high-speed impact of sand and debris particles can lead to various forms of damage to the glass, including pitting, scratching, chipping, and even cracking. Ideally, the abrasive force of the sand and debris can wear down the glass surface, creating visible imperfections that reduce the clarity and integrity of the glass.
Can you fix sandblasted windshield?
Yes, sandblasted windshields can often be repaired, depending on the severity of the damage. Repairing a sandblasted windshield typically involves using specialized techniques and materials to smooth out imperfections on the glass surface. Repairing a sandblasted windshield depends on the extent of the damage. Minor surface pitting and light scratches are often repairable. However, if the damage includes deep or extensive chips or cracks, windshield replacement may be necessary.
The Bottom Line
Learning how to remove sandblasting from glass not only enhances your safety but also contributes to the overall well-being of your vehicle. A sandblasted windshield might appear minor at first, but it can escalate into a safety hazard for you and fellow motorists, particularly during the summer months. Whether you’re embarking on a road trip or simply commuting, it’s ideal to evaluate the condition of your vehicle’s windshield, paying special attention to signs of pitting and other sandblast damage.
Also Read: How to Make Dodge Dart Faster [With Performance Mods]
Various factors, such as road debris, high-pressure car washes, congested traffic, and windy conditions, can exacerbate existing windshield damage, making it imperative to address the issue promptly. As such, maintaining a clear and damage-free windshield ensures you have a clear view of the road and the peace of mind that comes with safe and unobstructed driving.